https://docs.flutter.dev/cookbook/navigation
Navigation
docs.flutter.dev
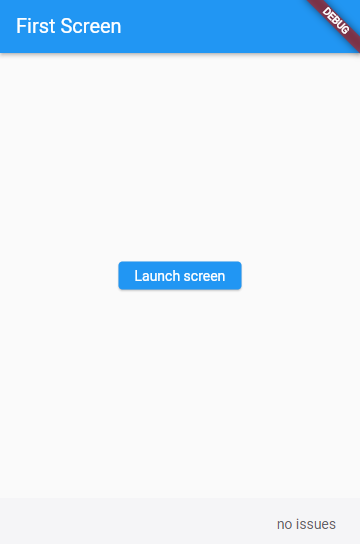
아래와 같이 두 화면(FirstScreen, SecondScreen)이 존재할때
Navigator를 이용해 화면 전환을 할 수 있다.
class FirstScreen extends StatelessWidget {
@override
Widget build(BuildContext context) {
return Scaffold(
appBar: AppBar(
title: Text('First Screen'),
),
body: Center(
child: RaisedButton(
child: Text('Launch screen'),
onPressed: () {
// 클릭하면 두 번째 화면으로 전환합니다!
},
),
),
);
}
}
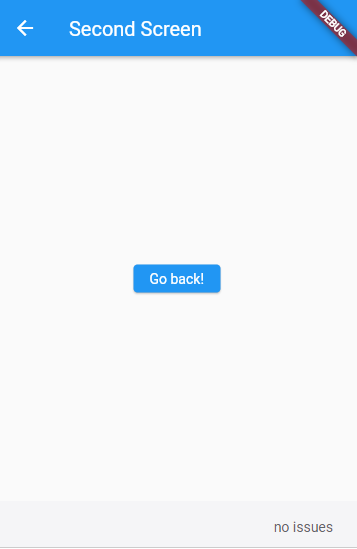
class SecondScreen extends StatelessWidget {
@override
Widget build(BuildContext context) {
return Scaffold(
appBar: AppBar(
title: Text("Second Screen"),
),
body: Center(
child: RaisedButton(
onPressed: () {
// 클릭하면 첫 번째 화면으로 돌아갑니다!
},
child: Text('Go back!'),
),
),
);
}
}
1. 화면 전환
Navigator 스택에 push와 pop을 이용해 화면을 전환합니다.
인자로는 context 와 MaterialPageRoute가 들어가며
아래와 같이 코드를 작성하면 됩니다.
// Within the `FirstRoute` widget
onPressed: () {
  Navigator.push(
    context,
    MaterialPageRoute(builder: (context) => const SecondScreen()),
  );
}
2. named routes 을 이용한 화면 전환
MaterialPageRoute에 조금 복잡해보이는 코드를 작성하기 싫을때,
최상단의 MaterialApp 부분에서 routes를 이용해 PageRoute 를 명명해둘 수 있습니다.
MaterialApp(
  title: 'Named Routes Demo',
  // Start the app with the "/" named route. In this case, the app starts
  // on the FirstScreen widget.
  initialRoute: '/',
  routes: {
    // When navigating to the "/" route, build the FirstScreen widget.
    '/': (context) => const FirstScreen(),
    // When navigating to the "/second" route, build the SecondScreen widget.
    '/second': (context) => const SecondScreen(),
  },
)
주석에도 잘 적혀있듯이 routes는 "/" 를 포함해서 시작해야하며,
"/" 만 존재하는 Pageroutes는 initialRoute를 명시하지않아도 초기화면이 됩니다.
pushNamed(context, routes명) 으로 사용하면 됩니다..
// Within the `FirstScreen` widget
onPressed: () {
  // Navigate to the second screen using a named route.
  Navigator.pushNamed(context, '/second');
}
3. 파라미터 전달
화면을 전환할 때, 해당화면에 데이터를 넘겨주고 싶을때가 있다.
위와같이 ListView에서 특정 List에 Detail화면에 들어갈때 데이터를 전달해주기 위해서
해당 클래스에 파라미터를 전달한다.
class DetailScreen extends StatelessWidget {
  // 생성자 부분 require a Todo.
  const DetailScreen({super.key, required this.todo});

  // Declare Todo 필드
  final Todo todo;

  @override
  Widget build(BuildContext context) {
    // 받아온 Todo 필드를 UI에 사용
    return Scaffold(
      appBar: AppBar(
        title: Text(todo.title),
      ),
      body: Padding(
        padding: const EdgeInsets.all(16.0),
        child: Text(todo.description),
      ),
    );
  }
}
전체 코드
import 'package:flutter/material.dart';
class Todo {
final String title;
final String description;
const Todo(this.title, this.description);
}
void main() {
runApp(
MaterialApp(
title: 'Passing Data',
home: TodosScreen(
todos: List.generate(
20,
(i) => Todo(
'Todo $i',
'A description of what needs to be done for Todo $i',
),
),
),
),
);
}
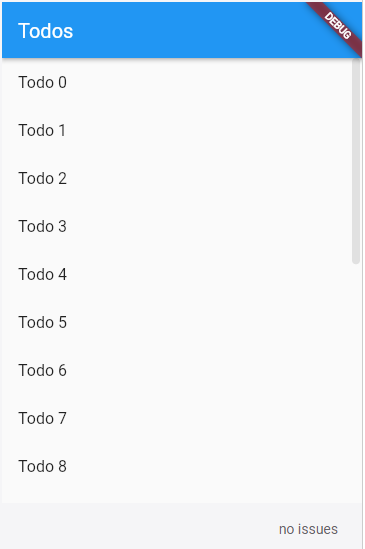
class TodosScreen extends StatelessWidget {
const TodosScreen({super.key, required this.todos});
final List<Todo> todos;
@override
Widget build(BuildContext context) {
return Scaffold(
appBar: AppBar(
title: const Text('Todos'),
),
body: ListView.builder(
itemCount: todos.length,
itemBuilder: (context, index) {
return ListTile(
title: Text(todos[index].title),
// When a user taps the ListTile, navigate to the DetailScreen.
// Notice that you're not only creating a DetailScreen, you're
// also passing the current todo through to it.
onTap: () {
Navigator.push(
context,
MaterialPageRoute(
builder: (context) => DetailScreen(todo: todos[index]),
),
);
},
);
},
),
);
}
}
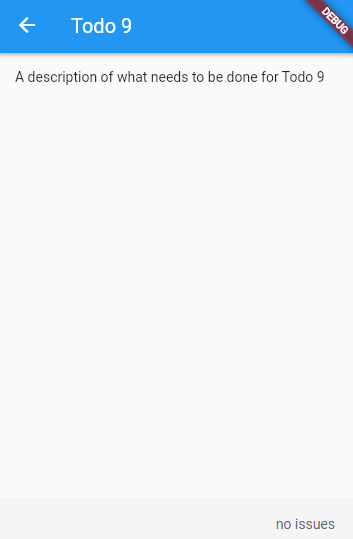
class DetailScreen extends StatelessWidget {
// In the constructor, require a Todo.
const DetailScreen({super.key, required this.todo});
// Declare a field that holds the Todo.
final Todo todo;
@override
Widget build(BuildContext context) {
// Use the Todo to create the UI.
return Scaffold(
appBar: AppBar(
title: Text(todo.title),
),
body: Padding(
padding: const EdgeInsets.all(16.0),
child: Text(todo.description),
),
);
}
}'Study > Flutter' 카테고리의 다른 글
| [Flutter] 화면 / 이미지 슬라이더 사용법 (carousel) (0) | 2022.07.04 |
|---|---|
| [Flutter] Pop up 팝업창 띄우는 법 (Alert Dialog) (0) | 2022.07.04 |
| [Flutter] Scaffold와 하위 속성 (0) | 2022.05.24 |
| [Flutter] Appbar 상단바와 하단바 예제 (0) | 2022.05.24 |
| [Flutter] Chip, Badge 사용법 (0) | 2022.05.24 |


